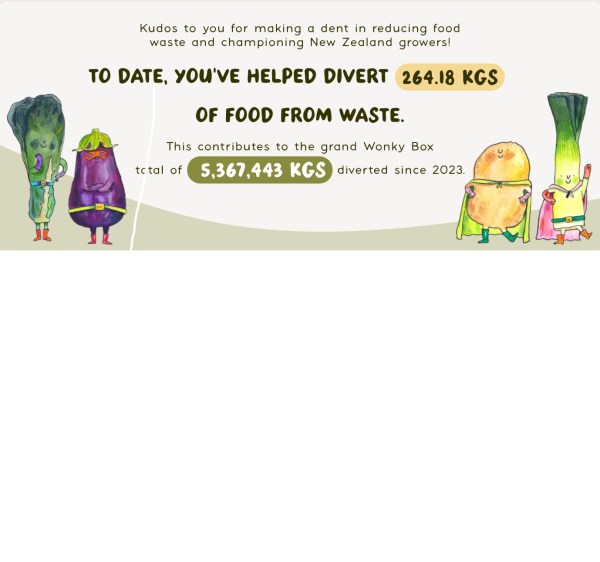

It’s been around a year since we started with Wonky Box for our main fruit and vege supplies. It’s been around SIX years since I wrote anything even remotely foodie – just with stuff going on…so…onwards and upwards…
We started with the small weekly Wonky Box but were paying proportionately more in postage so switched to a medium mixed box every fortnight. Wonky Box doesn’t deliver rurally – not to us anyways – so we get it delivered to a local office in town where we (usually) remember to pick it up.
Wonky Box distributes fruit and vegetables that for some reason don’t make the grade for commerical use, e.g. too small, too big, funny shape, etc. It might be, might be, cheaper to buy the same items from the supermarket but, to be honest, half of it is stuff that I would never think of buying even if if it was on rural Aotearoa supermarket shelves.
So anyway, the arrival of each box every two weeks is like the start of a two week kitchen challenge where everything from the previous box has to be consumed – or turned into something edible in the freezer – before the next box arrives.
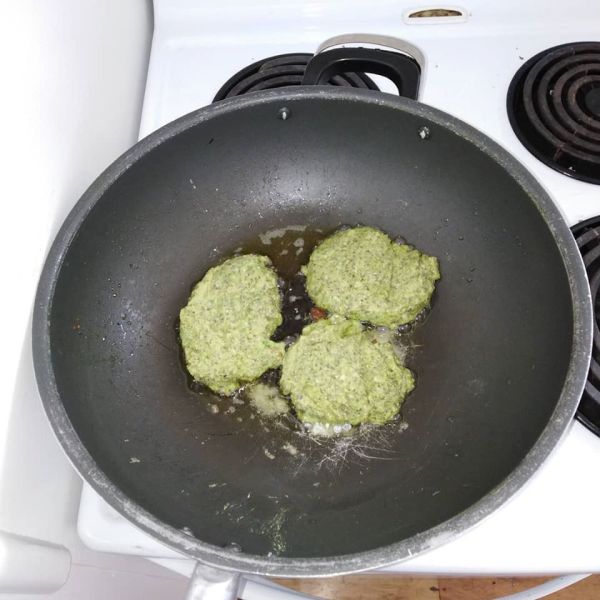
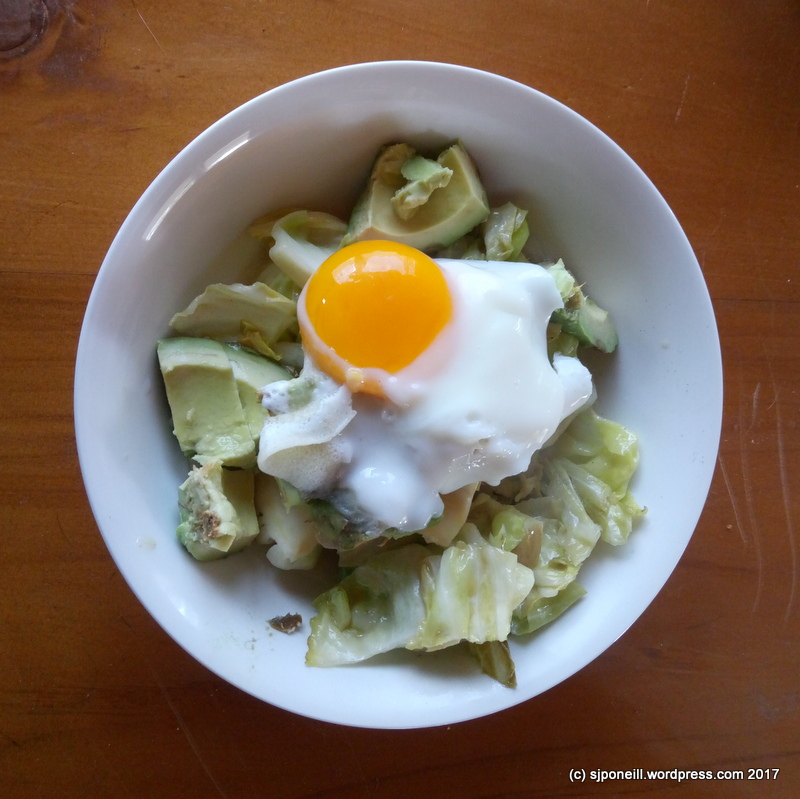
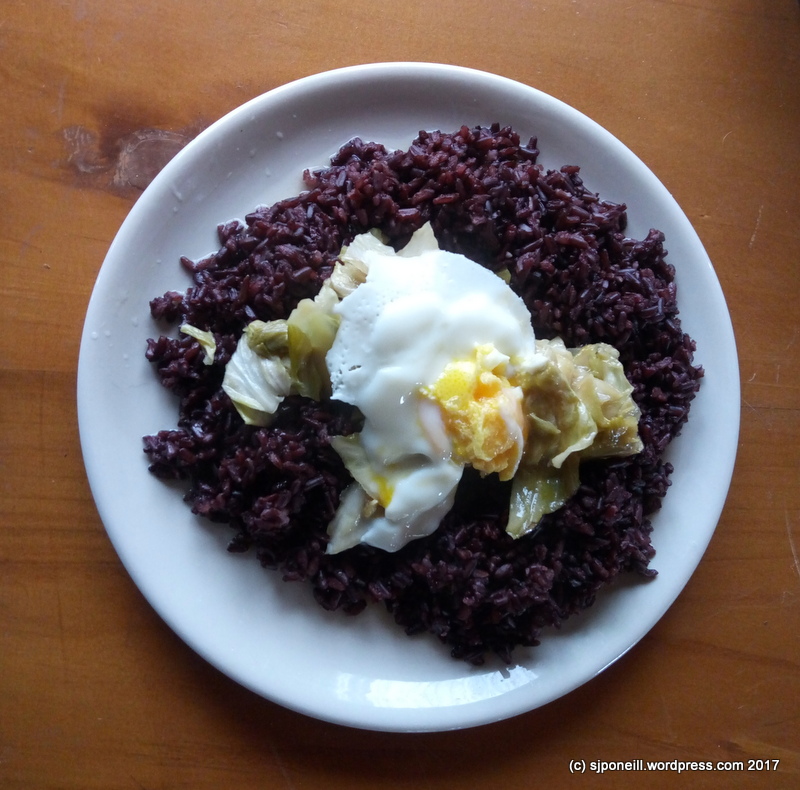
I’m kinda lagging a bit this period as I have been working out of town and gotten a bit lazy and tempted by the big city (well, Rotorua, anyway) lights and fast food attractions. There was still two cauliflowers and a broccoli in the fridge on Friday along with half a bag of brussel sprouts.
A quick google got me here, to a fast and simple recipe cauliflower and cheese recipe from food.com….
The Makings:
- One head of cauliflower (toss in some broccoli or sprouts as well if you want)
- Two tablespoons of butter or oil
- Two tablespoons of flour
- a cup of milk
- salt and black pepper to season
- A pinch of nutmeg
The Making
Remove the leaves from the cauliflower, rinse it well and then cut out the core. Cut the rest into bite-size chunks and steam on the range or in the microwave. Drain the cauliflower and place into a deepish baking dish.
Meanwhile, melt the butter or oil in a saucepan, over low heat; and add the flour a bit at a time to prevent lumps and stir with a wooden spoon (note to self: get a wooden spoon) to make a smooth paste.
Cook the mixture gently for a minute, then take the pan off the heat and stir in the milk, a little at a time.
Return the pan to the heat and stir most of the grated cheese into the saucepan to melt. Season it with pinches of the salt, pepper and nutmeg and let it cook on low for 5-10 minutes, stirring occasionally.
When the sauce has melted, pour over the cauliflower and sprinkle the reserved cheese on top. Place under the grill for a few minutes and until the top starts to bubble and brown.
It’s zero waste as Mr V and Star get the cauli core and leaves. I dice the cauli into smaller chunks than the recipe says and steam it while I am preparing the sauce. Prep and cooking time is around 20 minutes so long as the element is hot enough to faciltiate the cheese combining into the sauce. I found a can of plant sausages in a cupboard and that formed the accompaniment to sauce and cauli.
Lessons:
- Hotter element combines the cheese better.
- Deeper dish mean better sauce coverage.
- A pinch of nutmeg is all you need.
- Plant sausages are bland but nice and filling.
People keep asking “Is Wonky Box worth it?” We think so, it certainly works for us…that might be different for other households…if in doubt, maybe just give it a try…? And use this code 6YCXST for 25% off your first order…