
A simple dessert, keeping with the green journey theme…
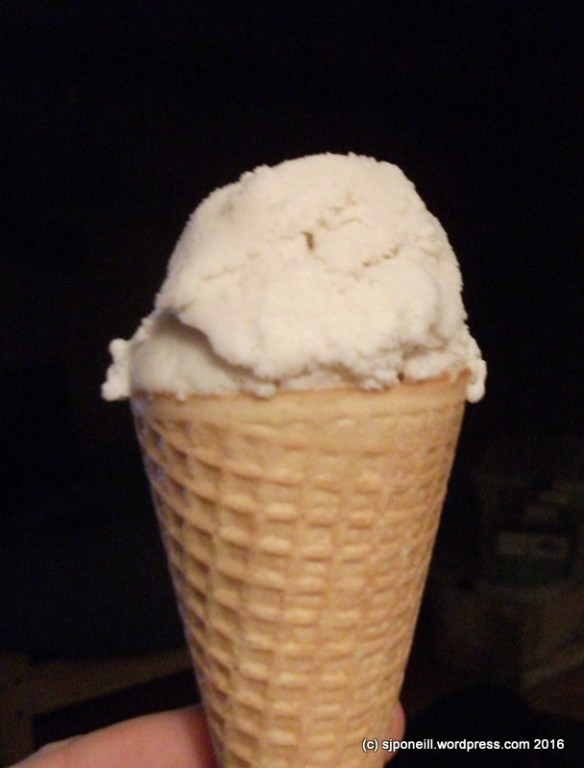
Dairy-free coconut ice cream in a waffle cone…
This is the first ice cream I made ever and I worried that the dairy-free aspects might add undue complication to what appeared – from the reading – to be a complex process…I needn’t have worried: like so many other things the anticipation was way worse than the actual doing…I was so sure that this would end in total disaster that I didn’t bother taking any photos of the making…if I want to see disasters, I can always rerun Titanic…
I made this according to this recipe which I found at The Kitchn There are lots of other ones around but this looked the simplest of those I found in my initial Google and simple is good…
What I used:
2 400ml cans full-fat coconut milk
1/2 cup honey, just ordinary old, common, garden-variety honey, nothing flash.
1/4 teaspoon salt
2 tablespoons corn flour
1 1/2 teaspoons vanilla extract
And this is what you do:
At least 24 hours before you plan to churn the ice cream, put the ice cream machine’s bowl in the freezer to freeze. This was the first time I had used my ice cream maker even though I bought it on the other side of winter…I never realised that the bowl had a liquid filling
Cans of coconut milk separate into a thick, creamy layer and a thin watery layer on the shelf. Before opening them, shake the cans of coconut milk thoroughly to incorporate the layers. If you forget – don’t ask how I know – you’ll need to give the can contents a vigorous stirring.
Measure 1/2 cup and set this aside.
Pour the remaining coconut milk into a saucepan.
Add the honey and salt to the coconut milk..
Warm the coconut milk on the stove over medium-low heat, stirring occasionally, until the sweetener has completely dissolved into the coconut milk.
Measure the cornstarch and add it to the reserved 1/2 cup coconut milk. Whisk thoroughly until the cornstarch is totally dissolved.
Add the cornstarch mixture into the warm coconut milk while whisking gently.
This is your ice cream base. Increase the heat to medium. Stirring occasionally, continue cooking the base until it has thickened enough to coat the back of a spoon, 6 to 8 minutes. Do not allow the base come to a boil.
Remove the base from heat and stir in the vanilla.
Pour the base into a shallow container. Let the base cool slightly on the counter so it’s not hot when you put it in the fridge.
Cover the container and refrigerate for at least 4 hours or for up to 3 days.
Remove the base from the fridge. It should be completely chilled and slightly pudding-like in texture. Pour the base into your ice cream machine and begin churning.
Churn the ice cream until it thickens considerably and is roughly the consistency of soft-serve ice cream.
Transfer to freezer container: Scrape the ice cream into your freezer container. I achieved the same by filling to the very topping and placing the lid on. Freeze for at least four hours to harden the ice cream.
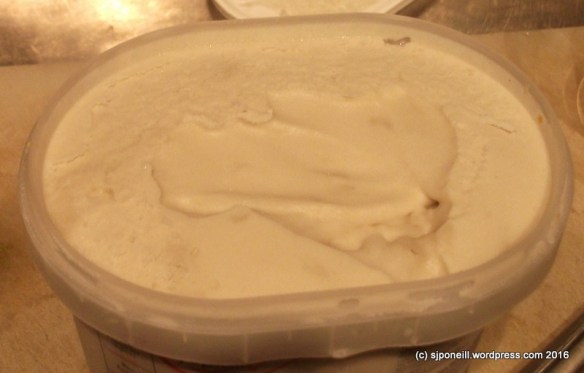
This mix does set quite hard – not icy, just hard. Let it warm a few minutes on the counter before scooping. This is a bit of a balancing act because once it starts to melt is keeps going quickly!! So far it seems to me best to let the ice cream contain sit on the bench for maybe 2-3 minutes and then serving it.
It doesn’t seem to roll quite as well as dairy ice cream and so, especially for cones, I find it is easier to use a dessert spoon to scoop the ice cream out and then pack into into the cone.
Bottom line
Very nice, especially in a cone…reminiscent of rum and raisins without either actually in the ingredients
Would benefit from some lumpy bits in the mix…nuts, raisins, dried fruit…
Smaller batches would mean greater variety
“Philosophically’ healthy in that it doesn’t use globally unhealthy ingredients but is very sweet so eating this in lieu of ‘normal’ ice cream is unlikely to do anyone’s waist line any favours…


Pingback: My Green Journey – one quarter in… | The World According to Me…